Are you looking for a practical solution to the daily shoe chaos that encourages children's independence? In ten simple steps, I'll show you how a Montessori-inspired shoe station can promote tidiness, motor skills, and a sense of responsibility.
The instructions cover everything: learning objectives, choosing a location, sustainable materials, tools and safety precautions, practical assembly steps, age-appropriate adjustments, routines, playful learning cards, and care instructions. This way, you can build a durable, tidy shoe station step by step that fosters your child's independence and makes everyday life easier.
1. Formulate learning objectives for the shoe station
Learning objectives should be formulated concretely and in an observable way, for example, that the child puts on their own shoes, correctly matches pairs, or ties their shoelaces, and be defined with clear criteria such as repeated, successful completions without direct assistance. Consider the child's developmental stage and individuality, differentiate tasks into smaller steps, and note any temporary support needed so that expectations remain realistic and achievable. Focus on cross-curricular skills such as independence, fine motor skills, problem-solving abilities, and language development, and establish measurable success criteria and observation methods such as checklists, short notes, or child-friendly self-assessments.
Define clear behaviors that demonstrate the cross-curricular goals, such as tidying up independently, naming the work steps, or making independent decisions. Use simple checklists and brief observation notes to document progress and highlight areas for improvement, instead of leaving vague statements about "improvement." Plan for tiered support, gradually reducing assistance and describing material adjustments such as shelf height, labeled spaces, and visual or tactile cues. In this way, the environment supports the child's independence because adapted furniture and suitable fasteners directly promote learning objectives.
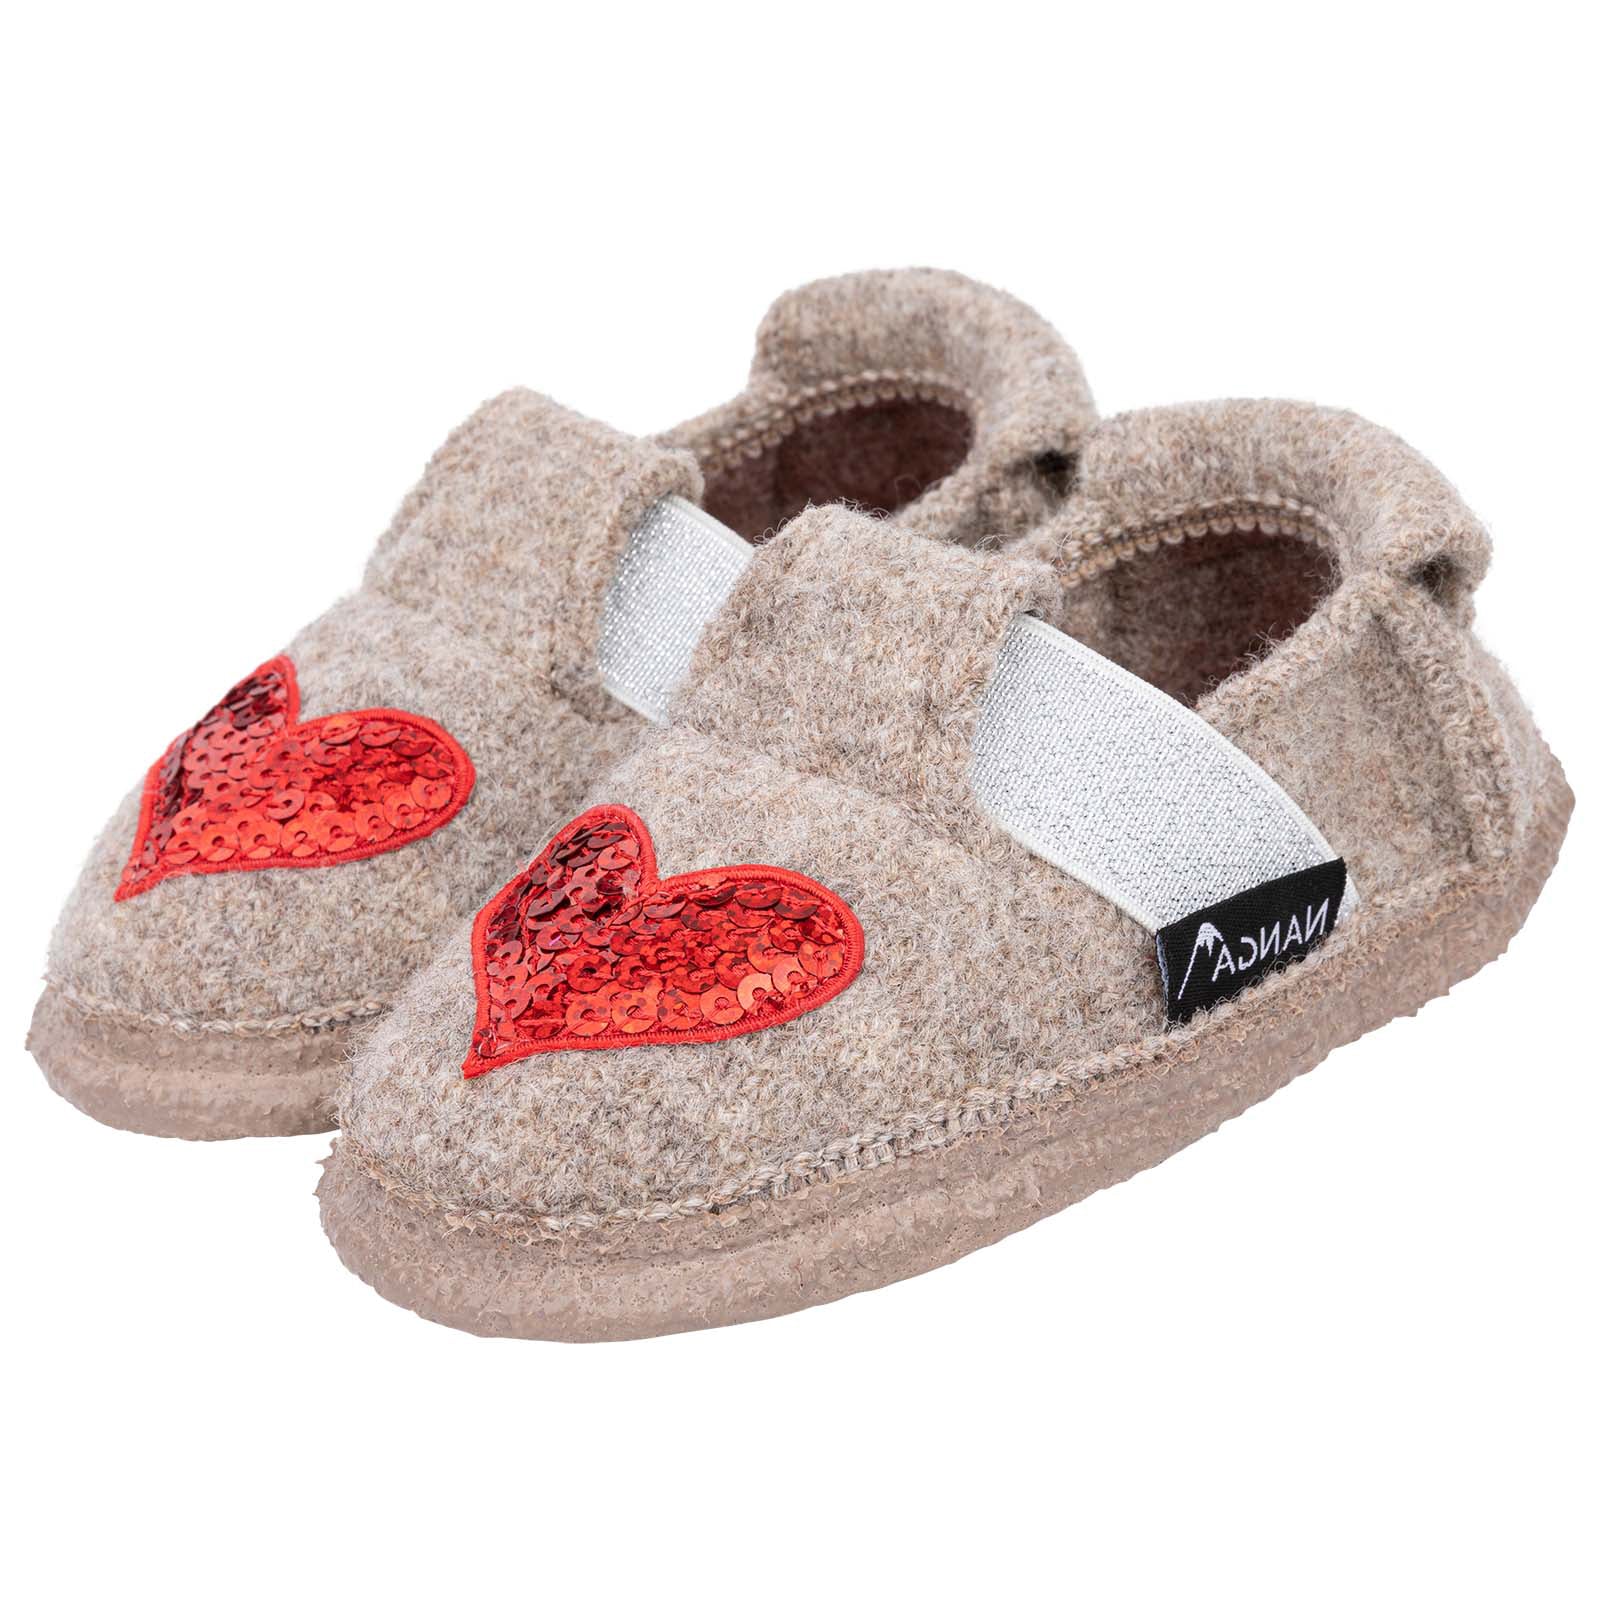
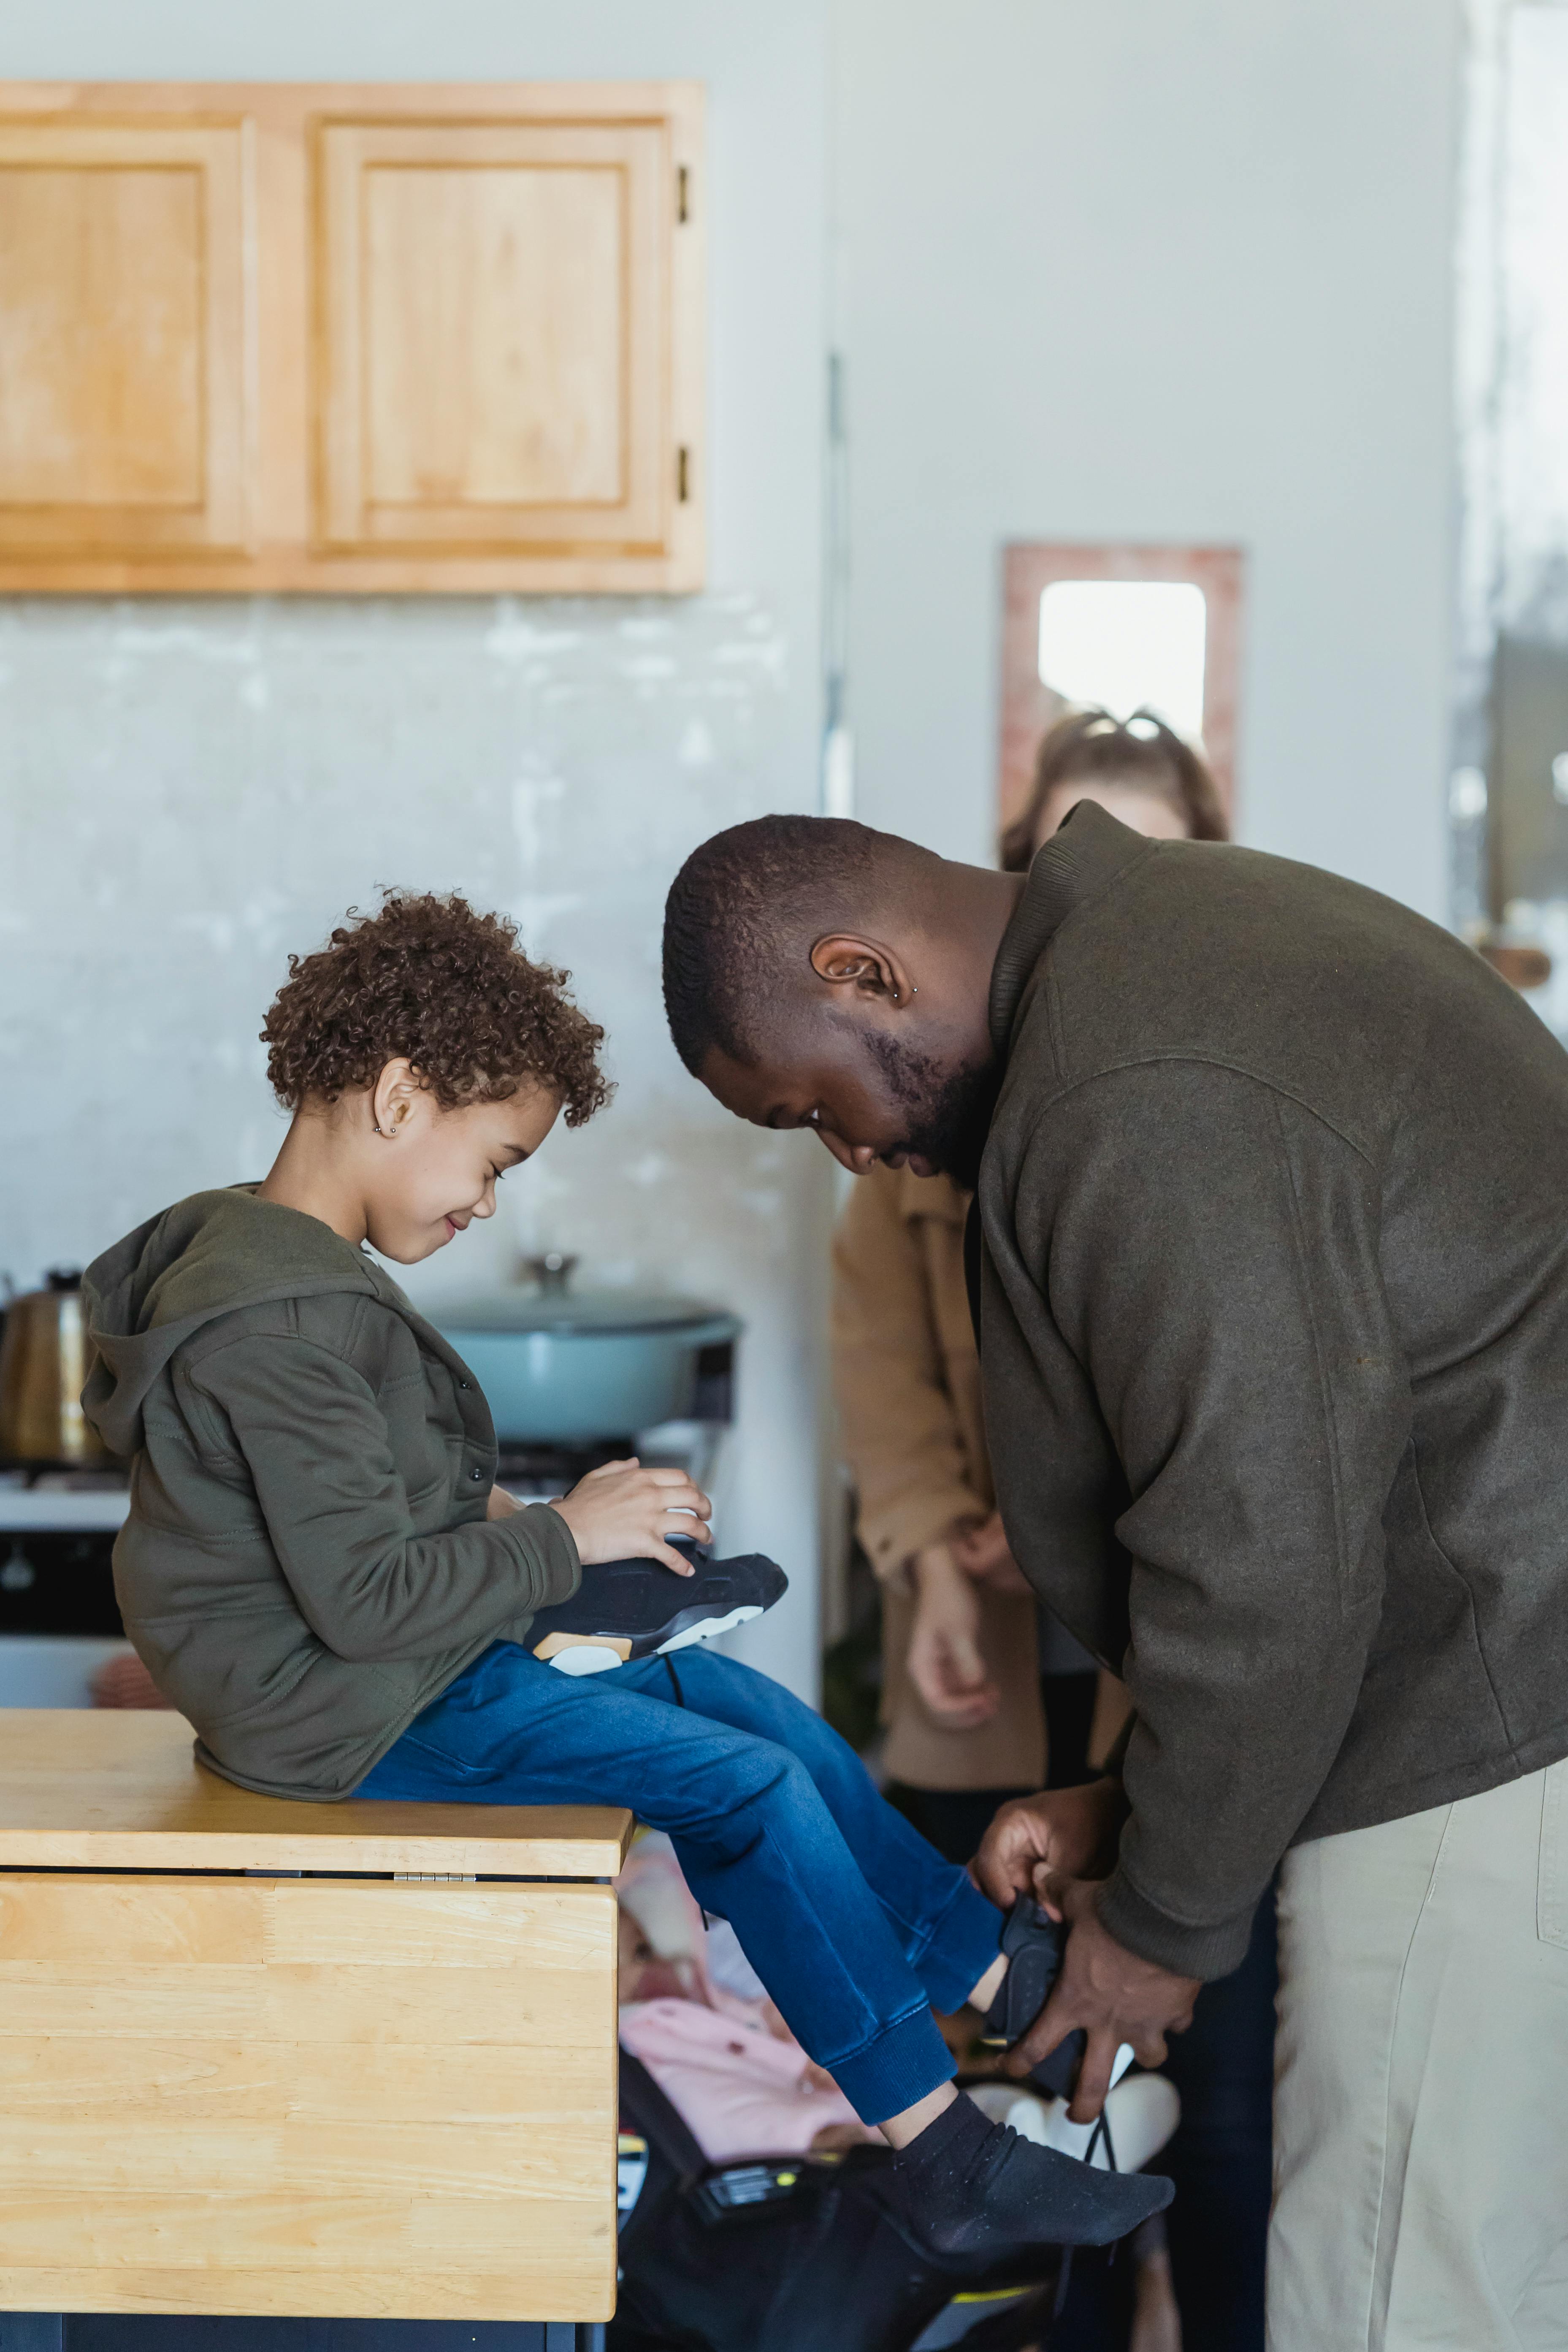
Promotes independence: easy-to-put-on, child-friendly shoes.
2. Choose a child-friendly location
Place the shoe station near the main entrance or in the cloakroom area to make dressing and undressing easier and encourage consistent use of the designated area. Position shelves, hooks, and a bench at child height and opt for open compartments instead of closed doors so the child can independently reach, sort, and put items away. Ensure non-slip flooring, ample seating space, rounded edges, and secure anchoring to reduce the risk of falls and facilitate dressing. These measures streamline processes, minimize interruptions, and support the child in completing the necessary actions.
Plan the floors and materials so that dirt can be easily removed, ensure good airflow, and provide a removable mat for wet shoes to keep the station tidy. Add visual aids such as mirrors, colored spaces, or simple pictograms to facilitate assignment and responsibility. Position the station within the arrival and departure flow so that the new habit becomes part of the routine.
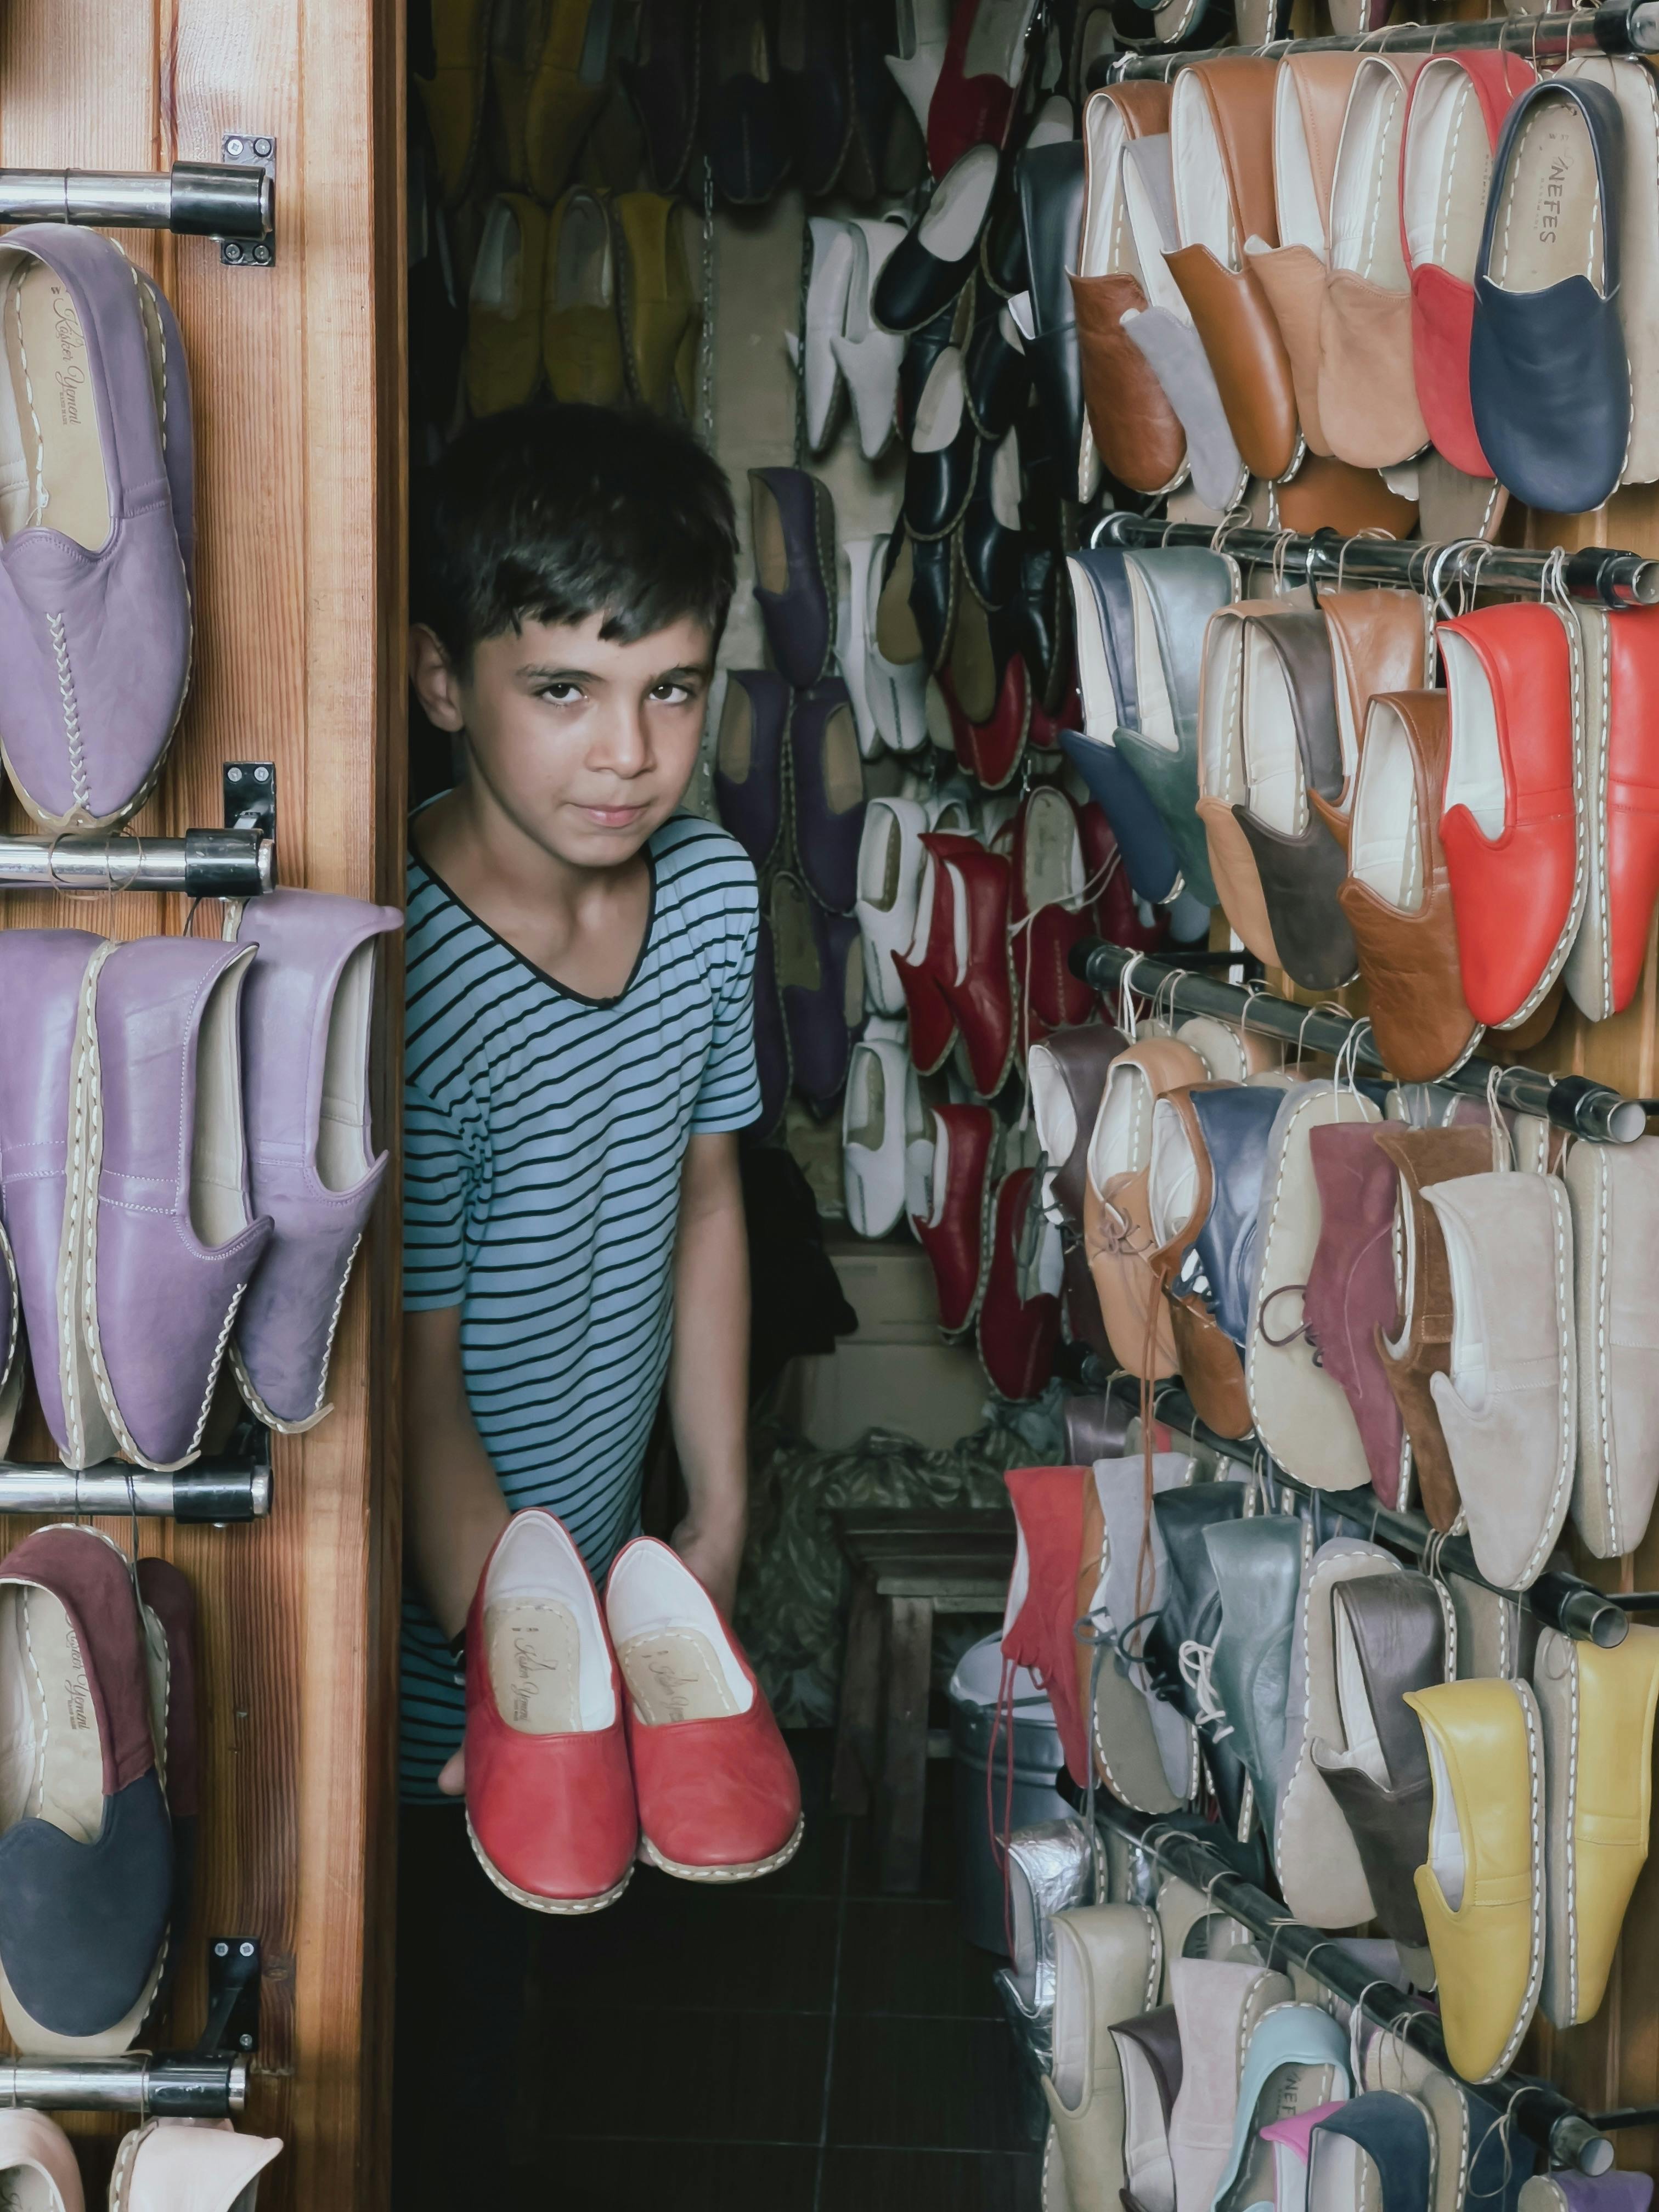
Choose non-slip, woolly soft slippers for independent dressing.
3. Choose natural, sustainable materials
Opt for solid wood like beech or birch instead of thin particleboard; solid wood can be sanded and repaired as needed, develops a pleasing patina, and its texture improves grip for small hands. Test surface treatments on a sample piece, as natural oils keep the wood pores open and reduce surface pollutants, while water-based, low-solvent varnishes provide smoother, easier-to-clean surfaces. Look for low-emission products and certifications as an indicator of reduced pollutant levels. This simplifies future repairs and daily maintenance.
Opt for breathable natural textiles for baskets and inserts, such as cotton, linen, jute, and wool, and plan for removable, washable covers to reduce maintenance and odor buildup. Use corrosion-resistant fittings, rounded edges, and visible, replaceable fasteners to prevent small parts from coming loose and to keep repairs simple. Think circular economy: use recycled or reusable materials, construct modularly with screw connections instead of permanent adhesives, and document measurements and parts for future repairs or reuse.
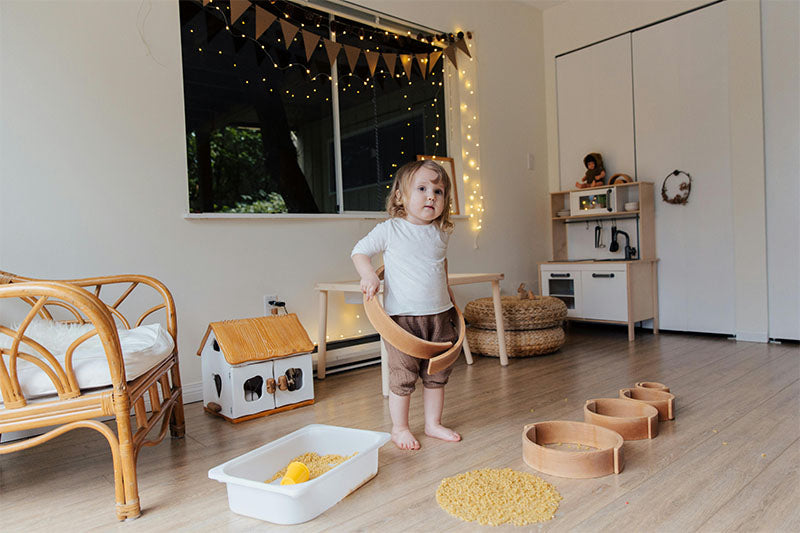
Breathable, washable baby shoes made from organic cotton and natural rubber

4. Provide tools and take safety precautions
Choose sturdy hand tools such as screwdrivers, hammers, pliers, and a small handsaw, and opt for child-friendly, pre-assembled parts or clamp-on fixtures rather than complex milling or cutting work. Power tools should be reserved for adults, and simple alternatives like files, sandpaper, and push-fit connectors reduce the risk of cuts and pinches. Check tools for a secure fit, sharp blades, and intact handles before each use to prevent malfunctions. These precautions have been proven to reduce the most common causes of cuts and pinches in craft projects.
Equip yourself and your child with appropriate personal protective equipment, such as safety glasses, gloves, apron, and closed-toe shoes, and demonstrate how to put it on and adjust it correctly. Set up a non-slip workspace at child height, with good lighting, a securely clamped workpiece, clearly separated zones for adults and children, and labeled containers for small parts to prevent clutter and related accidents. Establish simple safety rules, provide a brief safety briefing, keep a first-aid kit and visible emergency contact information readily available, and use non-toxic, low-solvent paints and thoroughly rounded, sanded edges to minimize the risk of splinters, poisoning, and choking.
Non-slip, comfortable slippers for safe crafting sessions

5. Putting Montessori principles into practice
Position the shoe rack at a child's height with individual, clearly visible compartments for each pair. This allows the child to choose freely, and the tangible organization helps the regular putting-away process become more automatic, as observations show. Label each compartment with a photo and a short word, and add tactile cues such as different materials or colors. This visual and haptic feedback reduces the cognitive load of finding shoes and facilitates the transition to independent shoe-shopping. Limit the selection to two or three suitable pairs and rotate them seasonally, as a reduced selection promotes decision-making skills and prevents overwhelm, encouraging the child to act independently more often.
Make the process visible with a simple sequence of pictures or step-by-step cards for putting on and putting away shoes. Demonstrate the process once and then let the child copy it. Step back so the child can repeat and internalize the steps. Give the child responsibility for cleanliness and organization; provide a small brush and a designated place for wet or dirty shoes, and demonstrate careful handling. Ask questions instead of intervening; this will make progress visible, and active participation strengthens the child's competence.
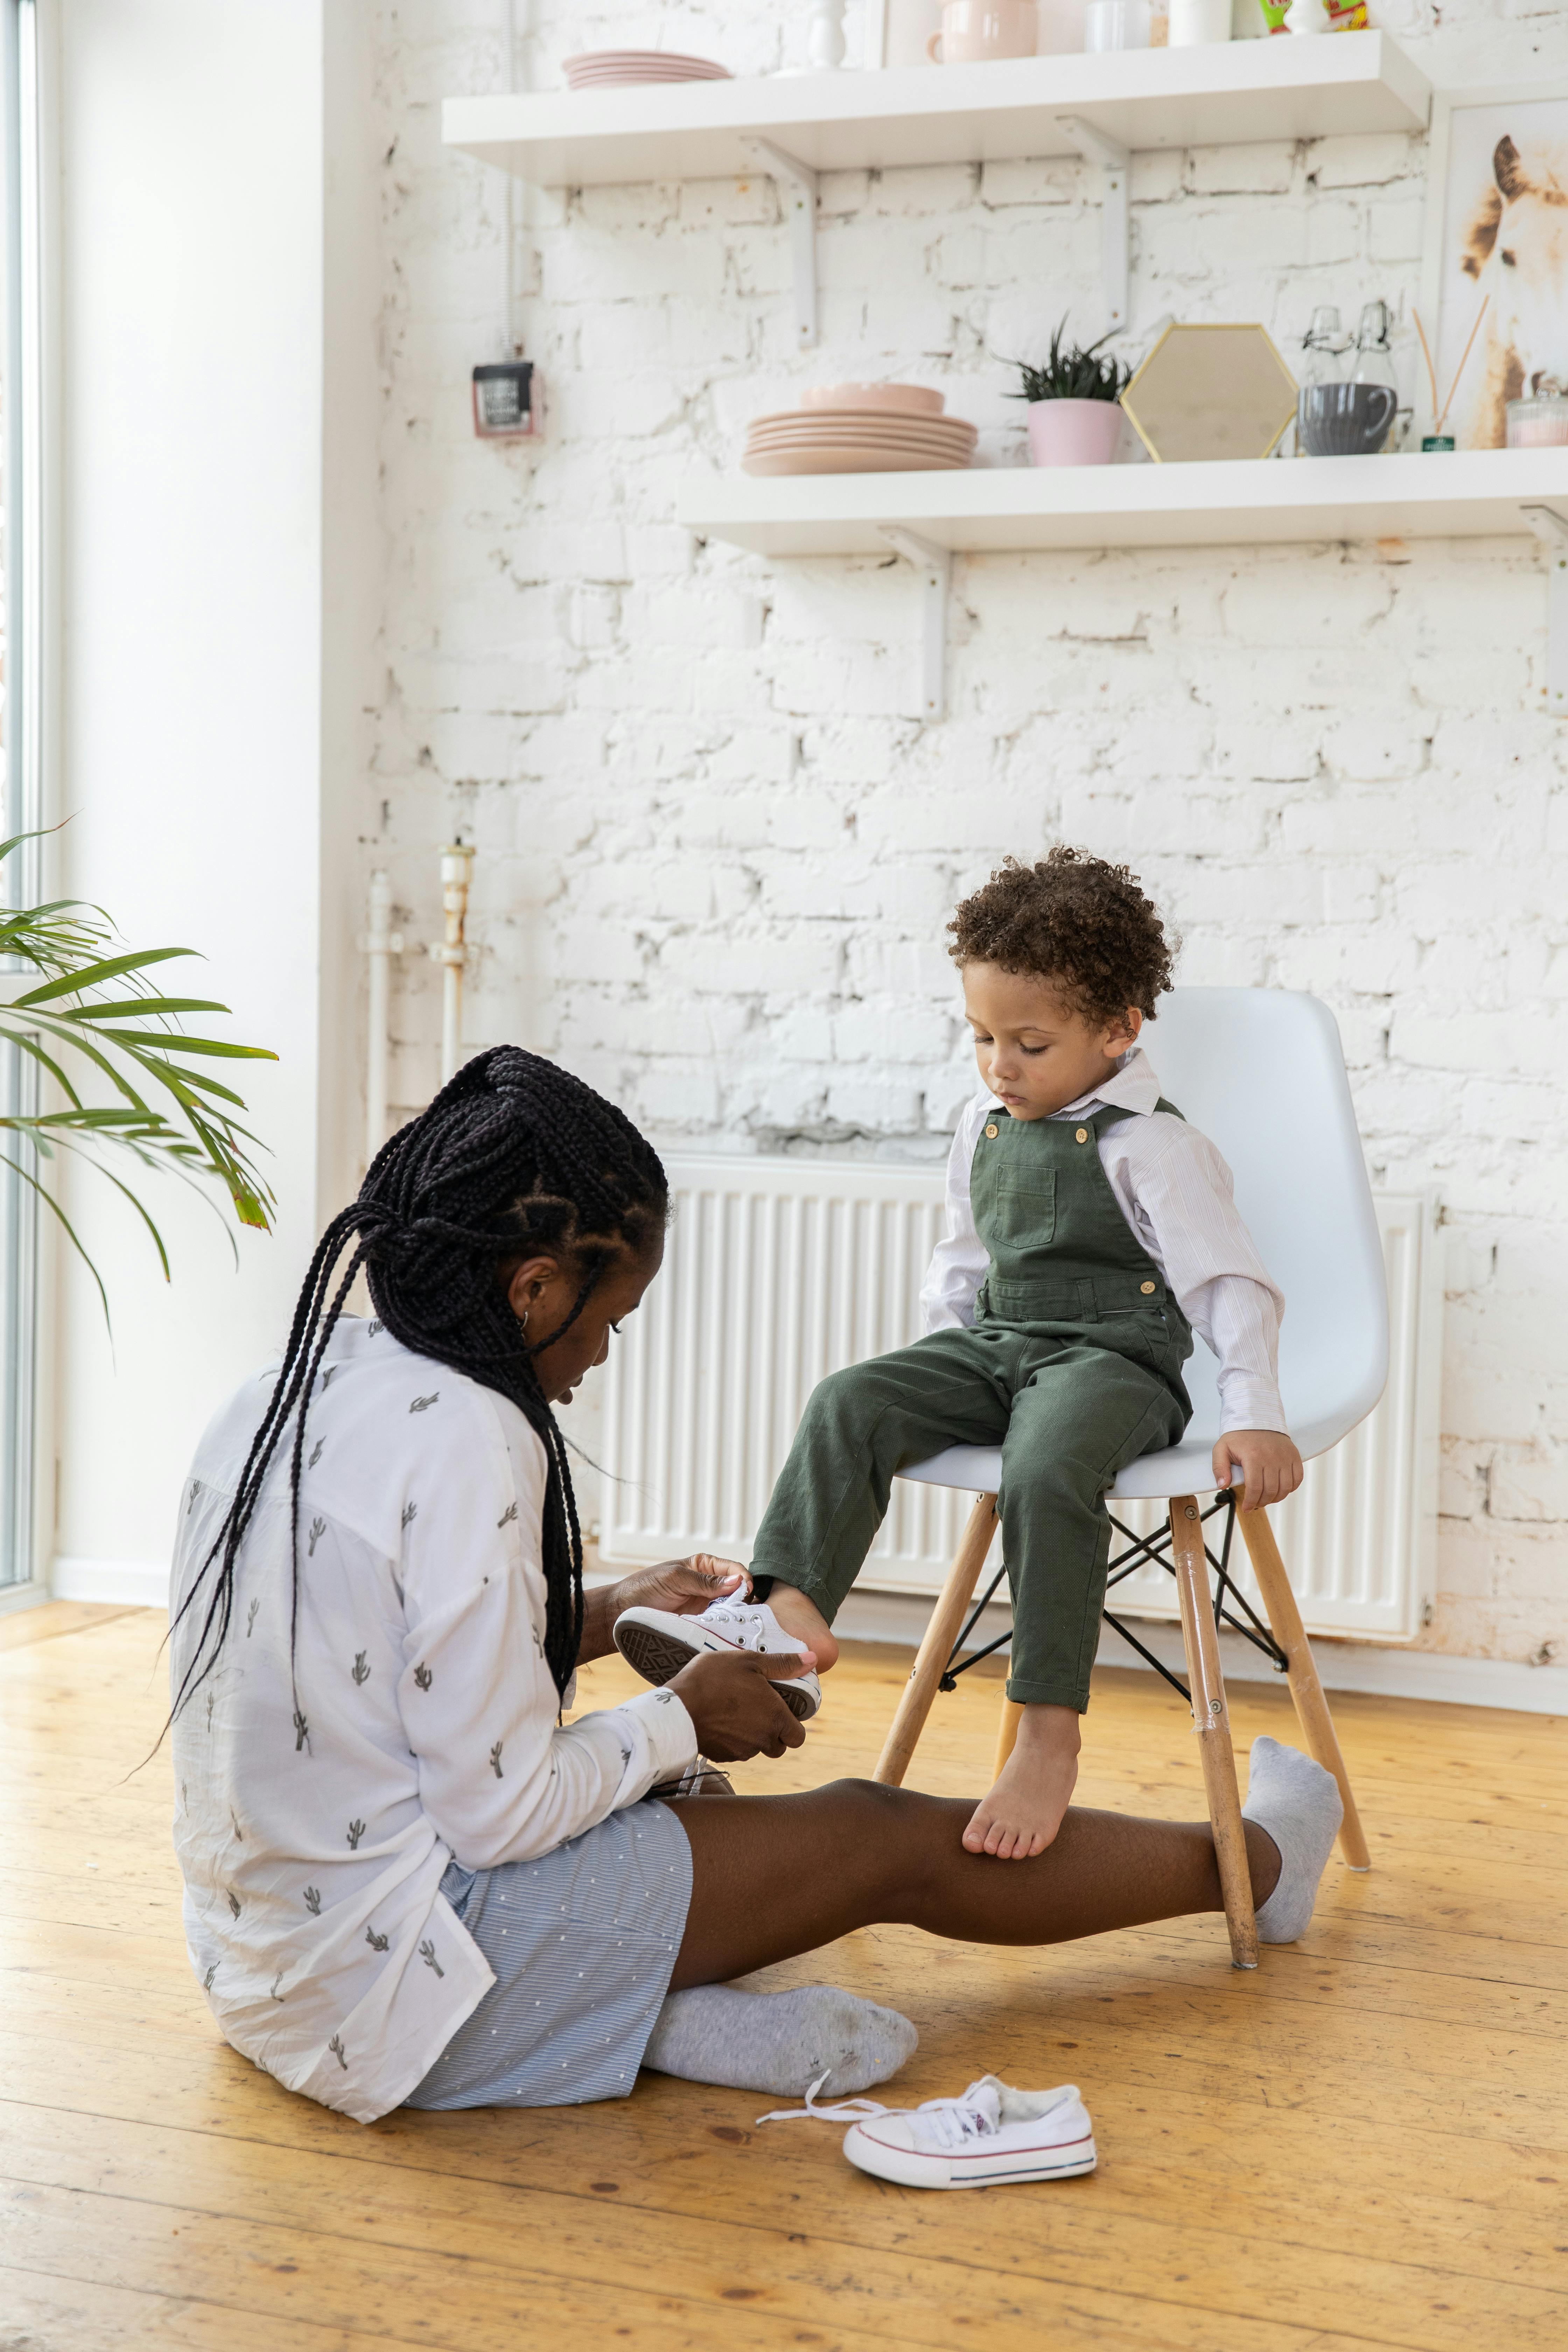
Comfortable slippers that encourage independent dressing.

6. Set up the shoe station step by step.
Position the station within sight and walking distance of the entrance and measure the child's reach height so that the top shelf is positioned just below it; secure the unit to the wall to prevent tipping. Build several compartments of varying heights and removable baskets, and position the shelves at a slight angle so that shoes remain visible and can be matched more quickly. Visibility and modularity allow the child to choose and organize their shoes independently.
Incorporate a low seat that matches the child's lower leg height and equip it with a non-slip surface so their feet rest flat on the floor and provide stability when dressing and undressing. Label compartments with photos or pictograms, mark left and right, and reserve a compartment for currently worn shoes to minimize decision-making. Round off edges and smooth rough spots, use removable liners or mesh bottoms for ventilation, and install non-slip feet or wall anchors. Plan for easily accessible, wipeable surfaces to ensure effortless cleaning and hygiene.
Soft, breathable slippers with a flexible entry for independent dressing.

7. Adapt to the child's age, size, and motor skills
Adjust the shelves so that the child's feet are firmly on the floor when seated and they can easily reach shoes and compartments when standing; test the height with the child and adjust the lowest shelf if necessary. Arrange shoes according to dressing difficulty and motor skill level, placing easy-to-put-on pairs at the front and lace-up shoes further back, and rotate individual pairs as fine motor skills improve. Offer different types of closures, such as elastic laces and Velcro, and later real laces, as well as safe practice pairs. Incorporate ergonomic aids like a stable seat, a non-slip mat, and handles to prevent frustration.
Use visual and tactile aids, such as photo cards of the shoes, marked places for left and right, and different materials, so the child can independently decide where each pair belongs. Briefly document progress to make targeted adjustments to height, choice of closures, and practice activities. Set up practice areas so the child can practice lacing techniques and closure types in a safe environment, while ergonomic details support balance and comfort. In this way, you continuously adapt the station to age, size, and motor skills, gradually fostering independent skills.
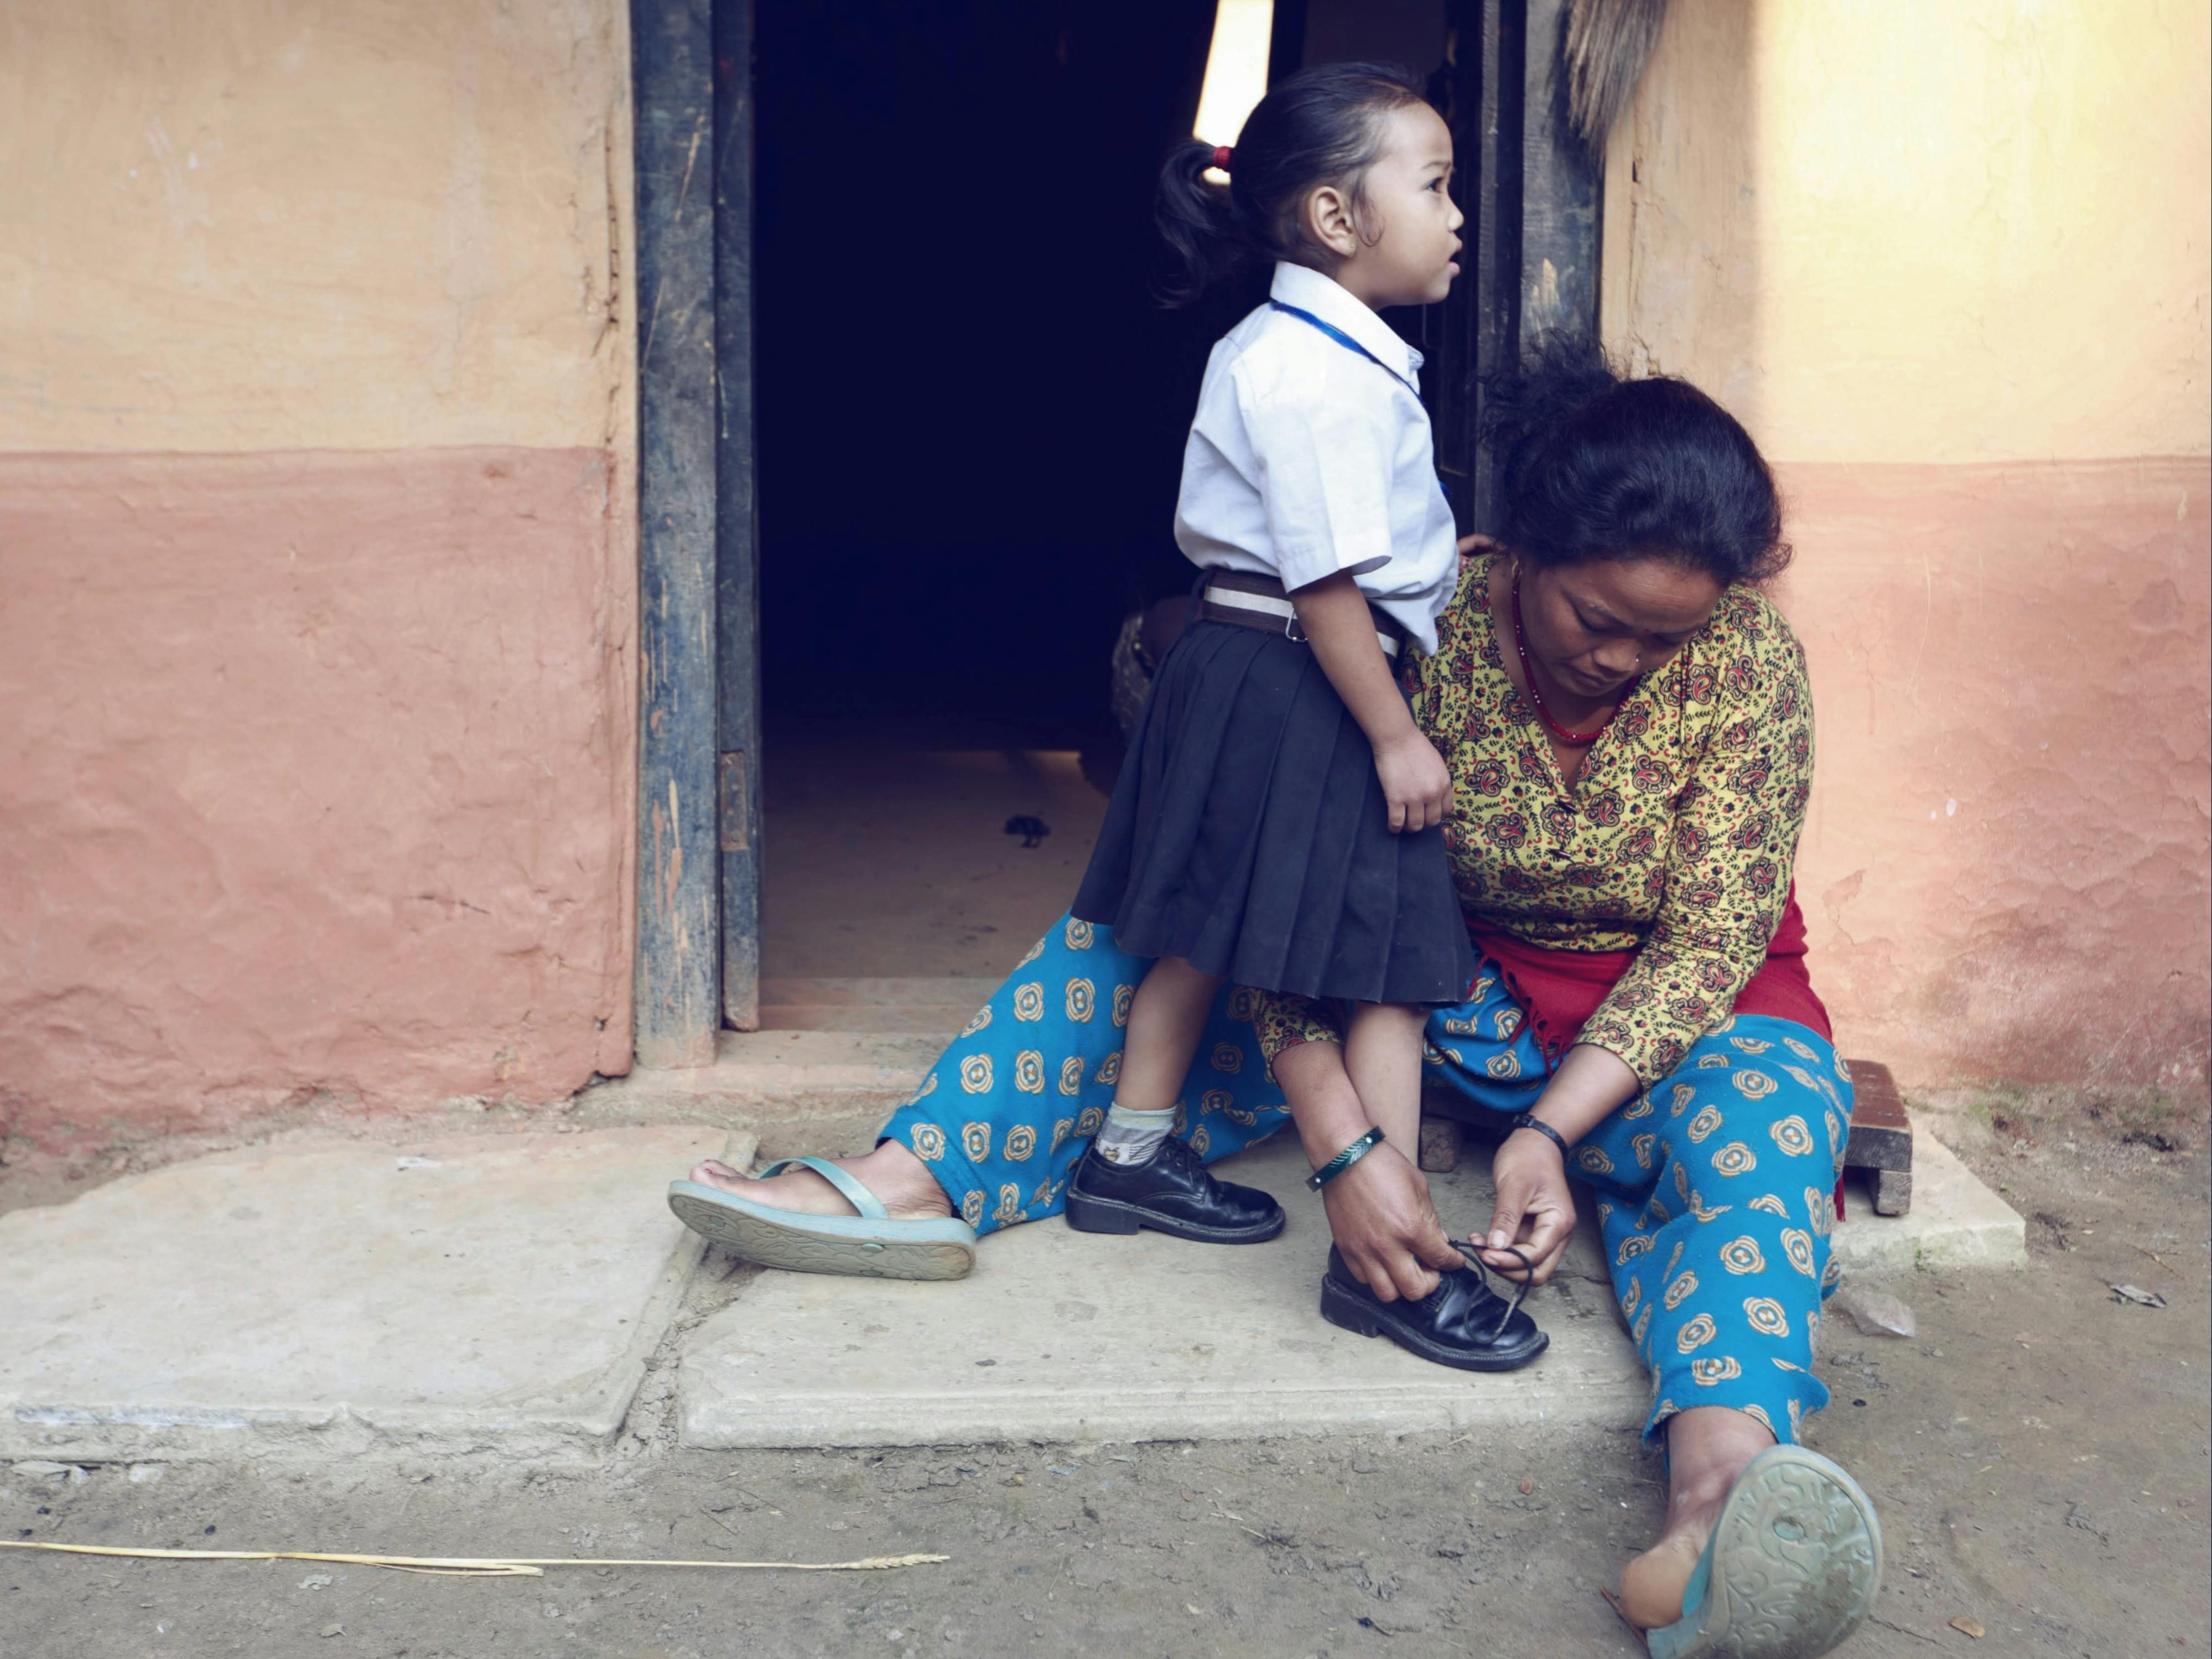
Easy-to-put-on, natural children's shoes for independent practice
8. Establish routines that promote independence
Establish a clear, recurring routine, such as: take shoes from the cubby, put on socks, put on shoes, put shoes back; such short instructions reduce decision-making pressure and make the process predictable. Visualize each step with pictograms, photos, and a checklist at the station so the child can start the process independently and recognize mistakes. Link putting on shoes to a transition ritual, such as putting on a jacket or picking up a bag, so that a consistent signal accelerates practice. This combination of a clear sequence and visible cues creates a reliable structure that promotes independence.
Give the child simple success criteria, such as a checklist or a ticking system, that they can complete themselves, because visible success strengthens motivation without external rewards. Adjust the support gradually: first, demonstrate each step, then hand-over-hand, then only verbal instructions, and finally a short keyword. This way, the learning curve remains visible, the child experiences continuous progress, and you can offer the next challenge in a timely manner.
Lightweight shoes that promote independence when dressing.

9. Design and use playful learning cards
Create different types of cards: step-by-step cards with photos of the actual pair of shoes, pictogram cards for individual actions, left/right matching cards, and shoe care cards so children receive specific, sequential instructions. Choose durable, easy-to-clean materials, large, easy-to-read symbols, high-contrast colors, minimal text, and clear verbs. Include tactile elements like fabric samples for elastic or Velcro to provide multisensory cues that support fine motor skills. Place the cards at eye level in the shoe station, put the matching pair of shoes next to them, demonstrate the entire process once, and then let the child use the cards as a visual reminder. A demonstration followed by free practice reduces frustration and increases the sense of accomplishment.
Start with complete activity cards and later break them down into individual steps. Offer matching tasks to find pairs and increase the challenge with combinations like a zipper and a shoelace. Document small progress with neutral markers such as a picture or a checkmark so you can adjust the difficulty level accordingly. Keep spare cards in a bag at the station, regularly change the images, and use these variations to maintain interest and motivation.
Ideal for the shoe station: easy entry, secure fit, natural materials

10. Maintain station, keep it tidy and develop it further
Short, regular inspections and cleanings keep trays clean, removing sand and moisture, and preventing loose fasteners or detached labels from becoming a problem. Clean trays and visible cues like photos, silhouettes, and clear labels help the child find pairs quickly and reduce search time. Rarely used shoes are rotated out of reach, and early repairs extend the life of the shoes.
Actively involve the child by giving them specific tasks such as putting away shoes, matching pairs, or marking damaged areas, and observe their decisions to gain practical insights. Keep a small repair kit on hand, mark parts to be replaced, and maintain an overview of existing shoes and spare pairs so that small steps are taken to preserve functionality and reduce waste. Regularly check the fit, discard what no longer fits, and document changes with photos or notes to identify usage patterns. Use the child's feedback to flexibly adapt the station so that it grows with their needs and fosters a sense of responsibility.
A Montessori-inspired shoe station makes everyday life manageable, promotes independence, and strengthens fine motor skills through clear structures and child-friendly design. Step-by-step guidance, visible instructions, and a limited selection quickly show whether a child can master tasks independently and provide concrete observation data instead of vague assessments.
The ten chapters, covering learning objectives, location selection, materials, safety measures, setup, age-appropriate adaptation, routines, flashcards, and maintenance, offer a manageable blueprint tailored to the child's size, motor skills, and needs. Begin with a small setup, document small steps of progress, and adjust the selection and height so that the child gradually takes on responsibility and maintains a consistent daily routine.